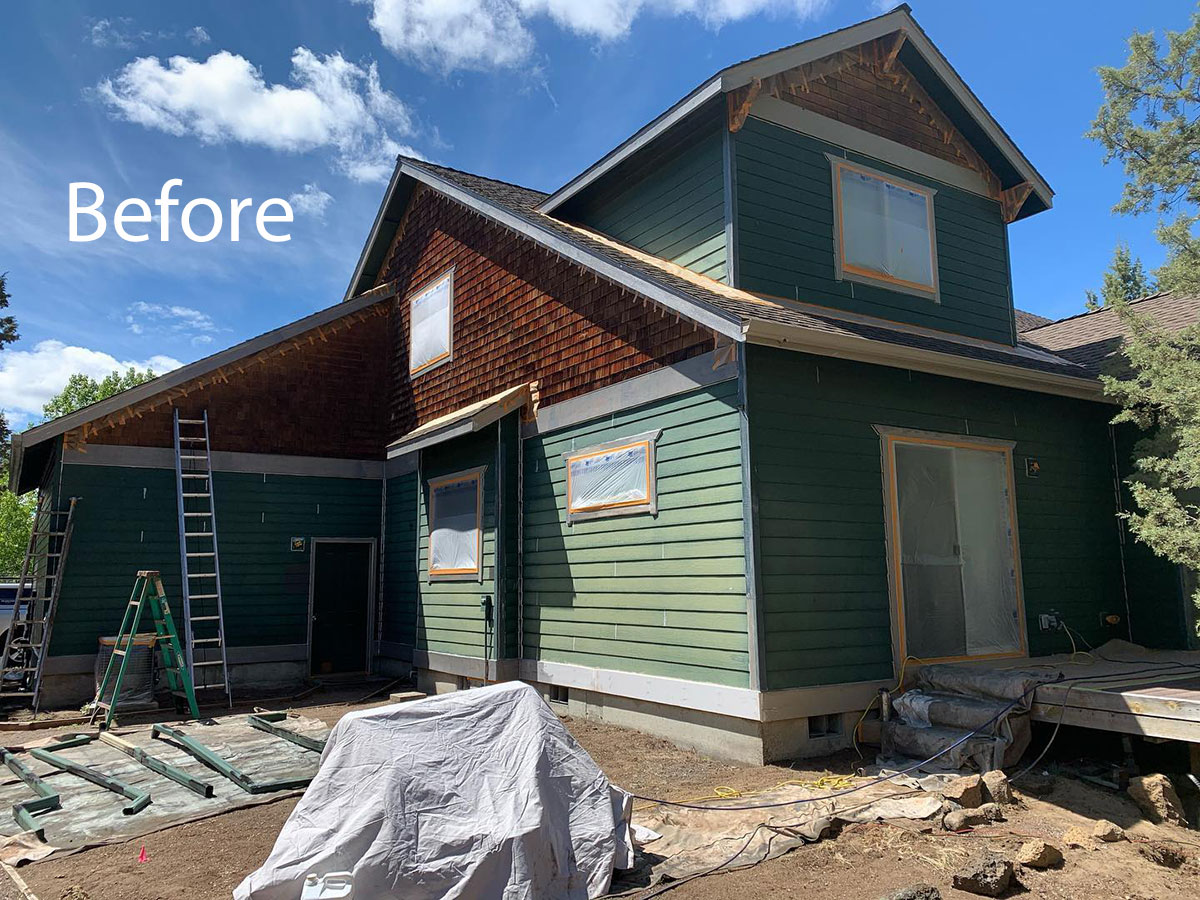
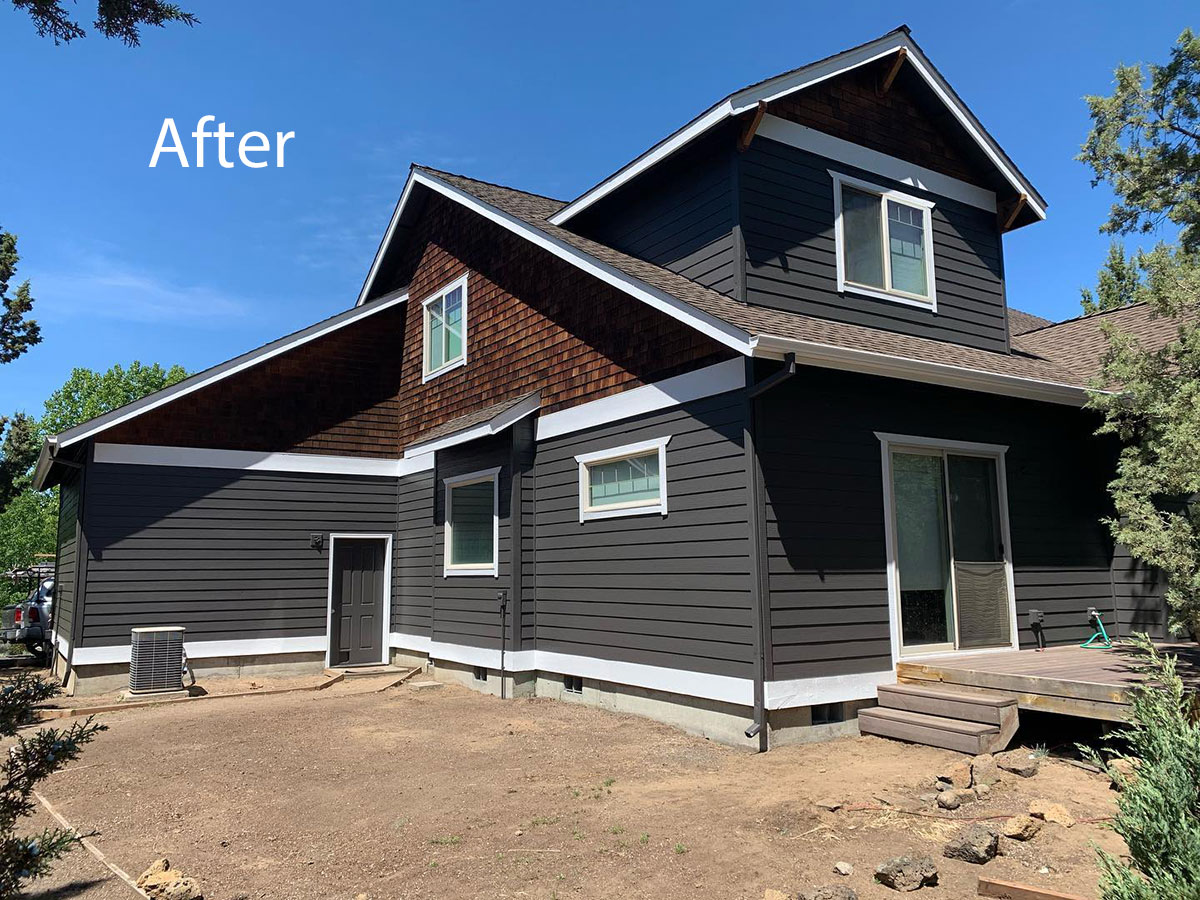
We are proud to be a family-owned and operated house painting business of experienced house painters in Ashland, Medford, and surrounding Southern Oregon areas. Greenwood Painting handles full exterior painting services including exterior house painting, interior home painting, house re-paints, refinishing decks, refinishing fences, new construction painting, & commercial painting work. We also paint home interiors areas such as walls, ceilings, trim, doors, and more!
At Greenwood Painting, we take house painting very seriously. You want a paint job that lasts and won’t break your budget. We are very picky about the materials and equipment we use, from paint to caulk. We offer free quotes and would love to work with you on your next painting project.
We hire skilled and experienced painters who can deliver high-quality results.
We can offer environmentally friendly painting options like low-VOC paints and coatings.
We use high-quality paints, primers, and coatings to make sure the finish looks good and lasts.
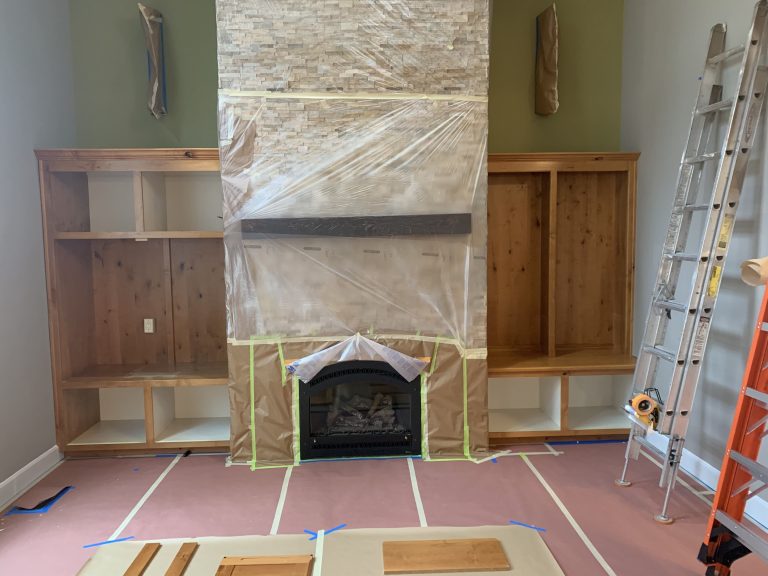
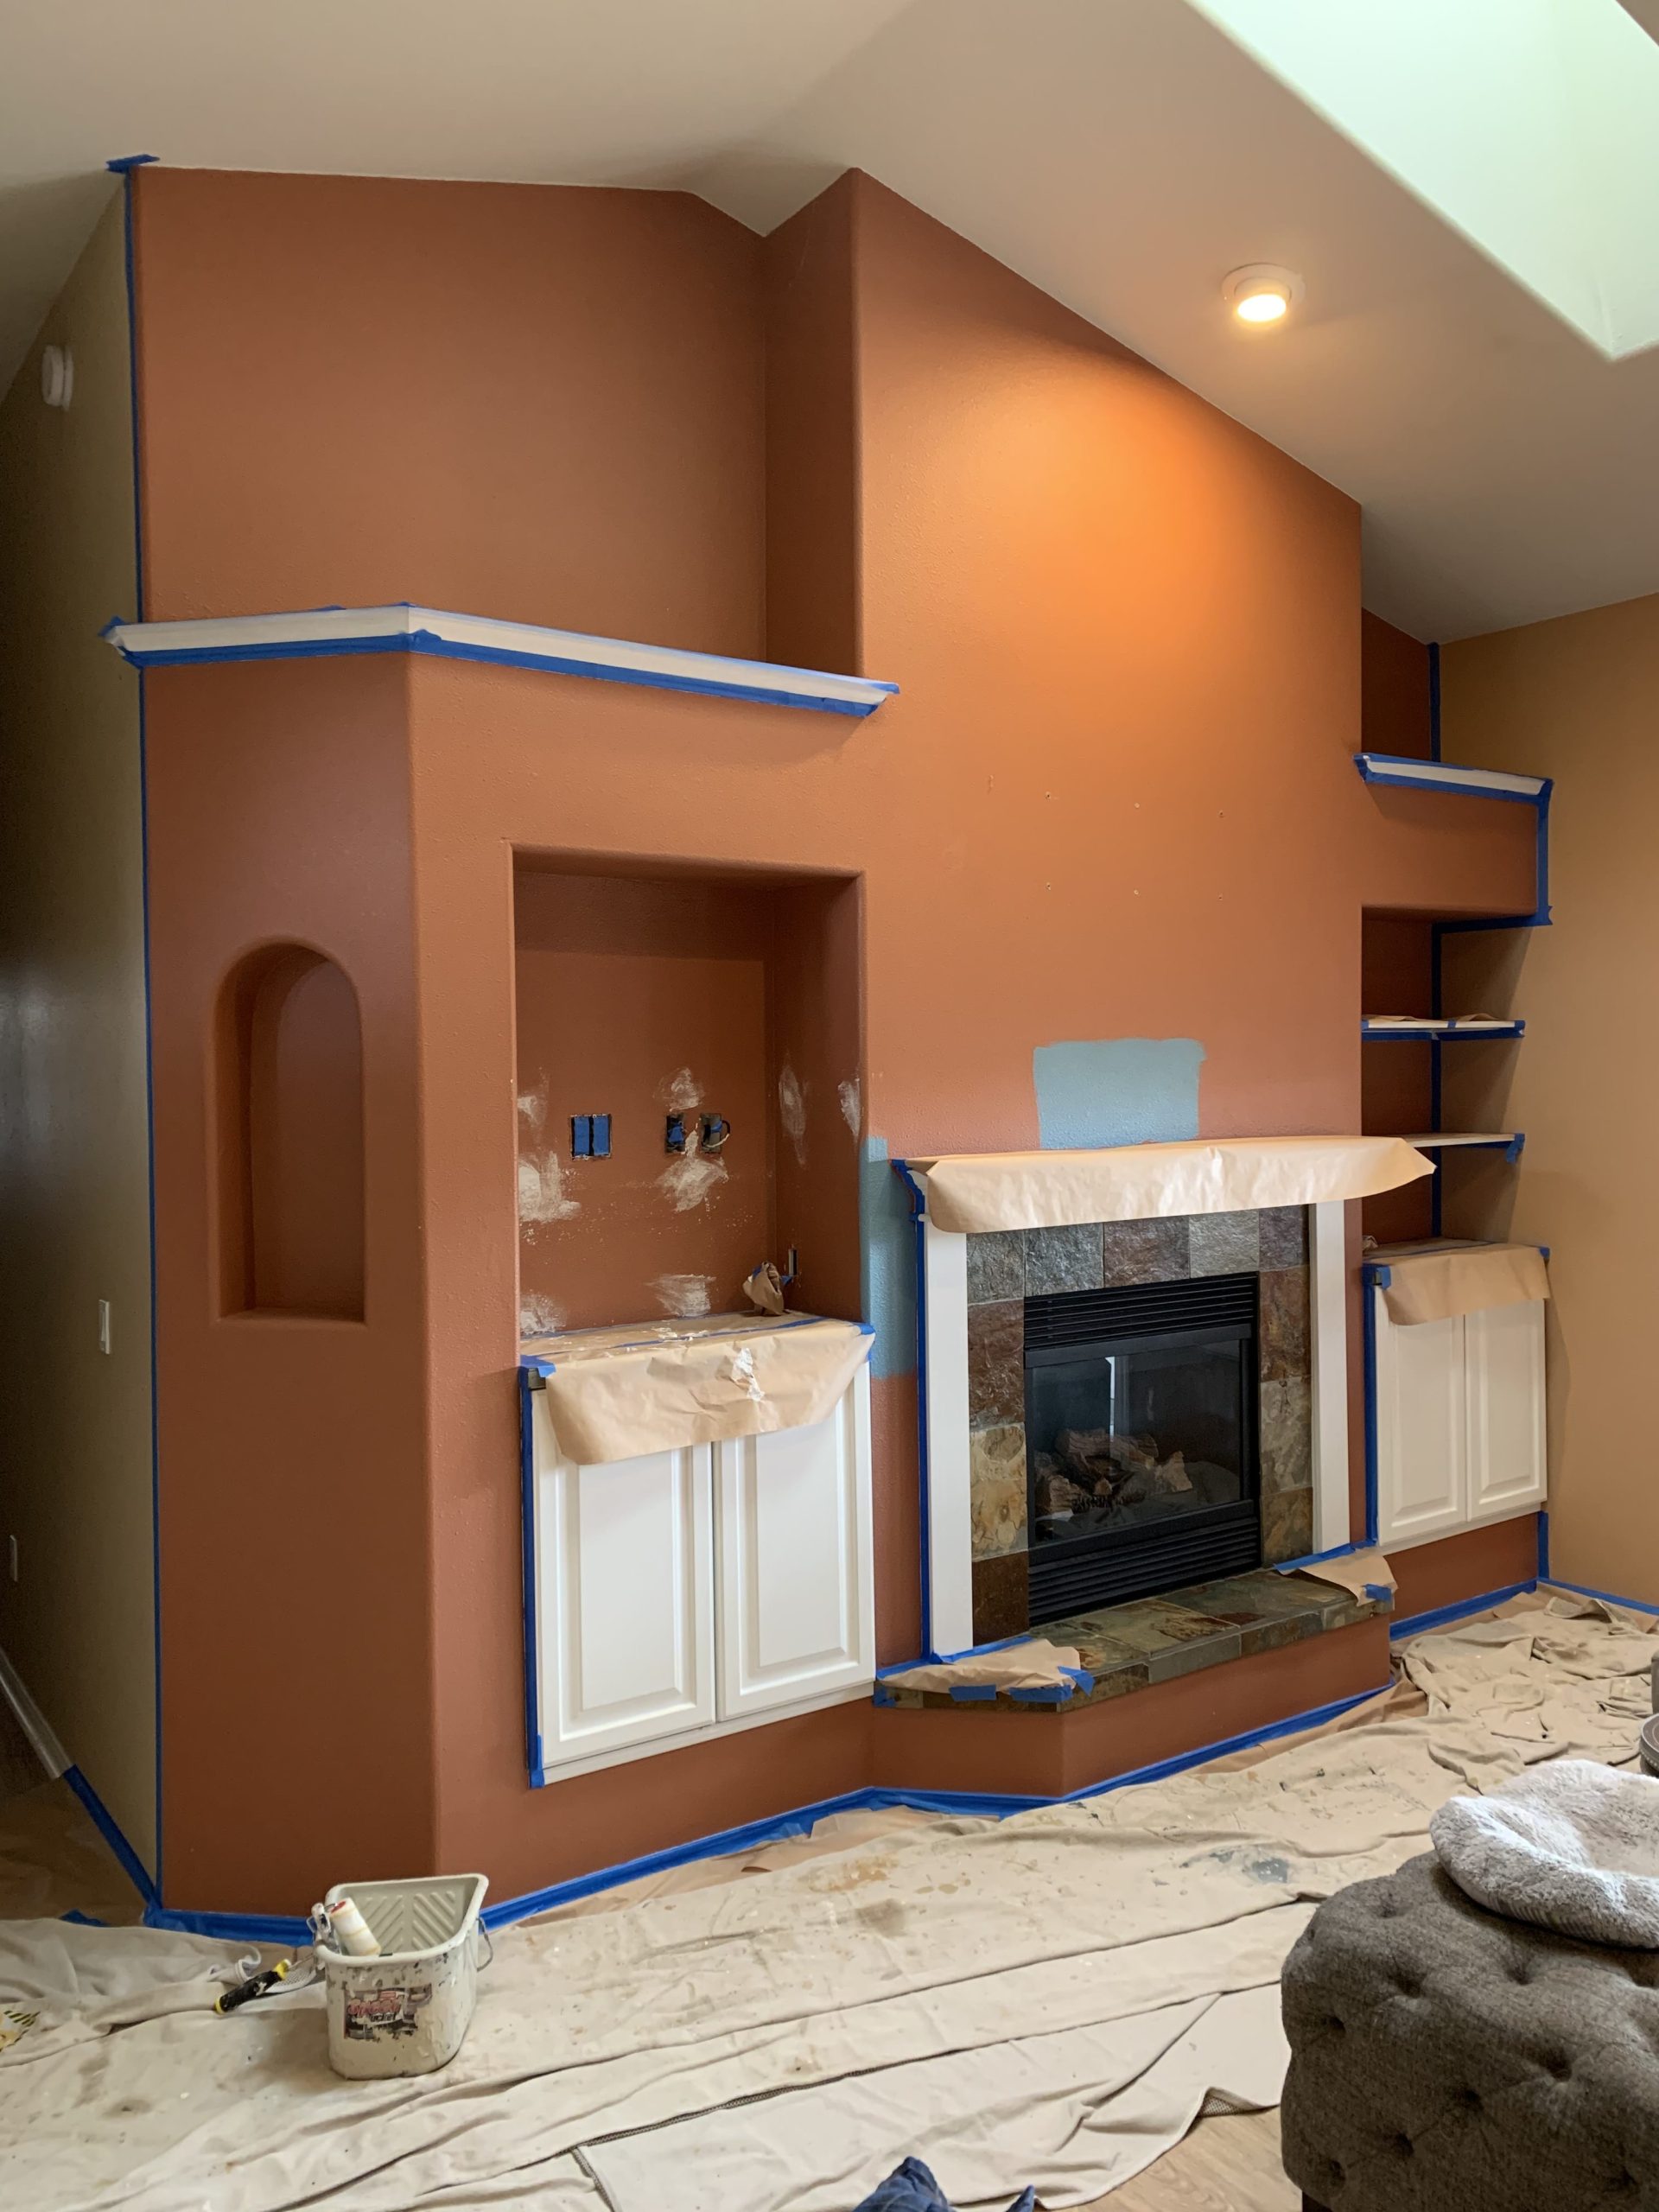
For a perfect finish, the painters pay close attention to details like edges, trim work, and clean lines.
Ready to bring your vision to life? Contact us today for a free quote and let's get started!
Greenwood Painting - House painters in Ashland, Medford and surrounding Southern Oregon areas. We handle full home exterior painting services including re-paints, refinishing decks, refinishing fences, new construction, & commercial work. We also paint home interiors areas as re-paint, walls, ceilings, trim, doors, and more!


Our work process is designed to provide you with a stress-free painting experience, from start to finish.
Preparation
Painting
Inspection
Cleanup
Our top priority is making sure our customers are always happy. We won't stop until the job is done and you're entirely pleased with it.
From small painting repairs to large commercial projects, our skills and customer service exceed expectations. Discover why our customers love us!